Create your first collection
Turn any collection into a smart, auto-sorted one — pick a ranking rule and QSortby builds a Shopify collection it keeps in sync on the schedule you choose.
A collection in QSortby is a Shopify collection that sorts itself by a rule you choose — best sellers, trending, top revenue, and more. This guide creates one on the Create collection page. By default the app recomputes the order every 5 minutes so it always reflects live behaviour; you can slow that down, or turn automatic updates off entirely, in the Keep updated section.
1. Open Collections and start a new one
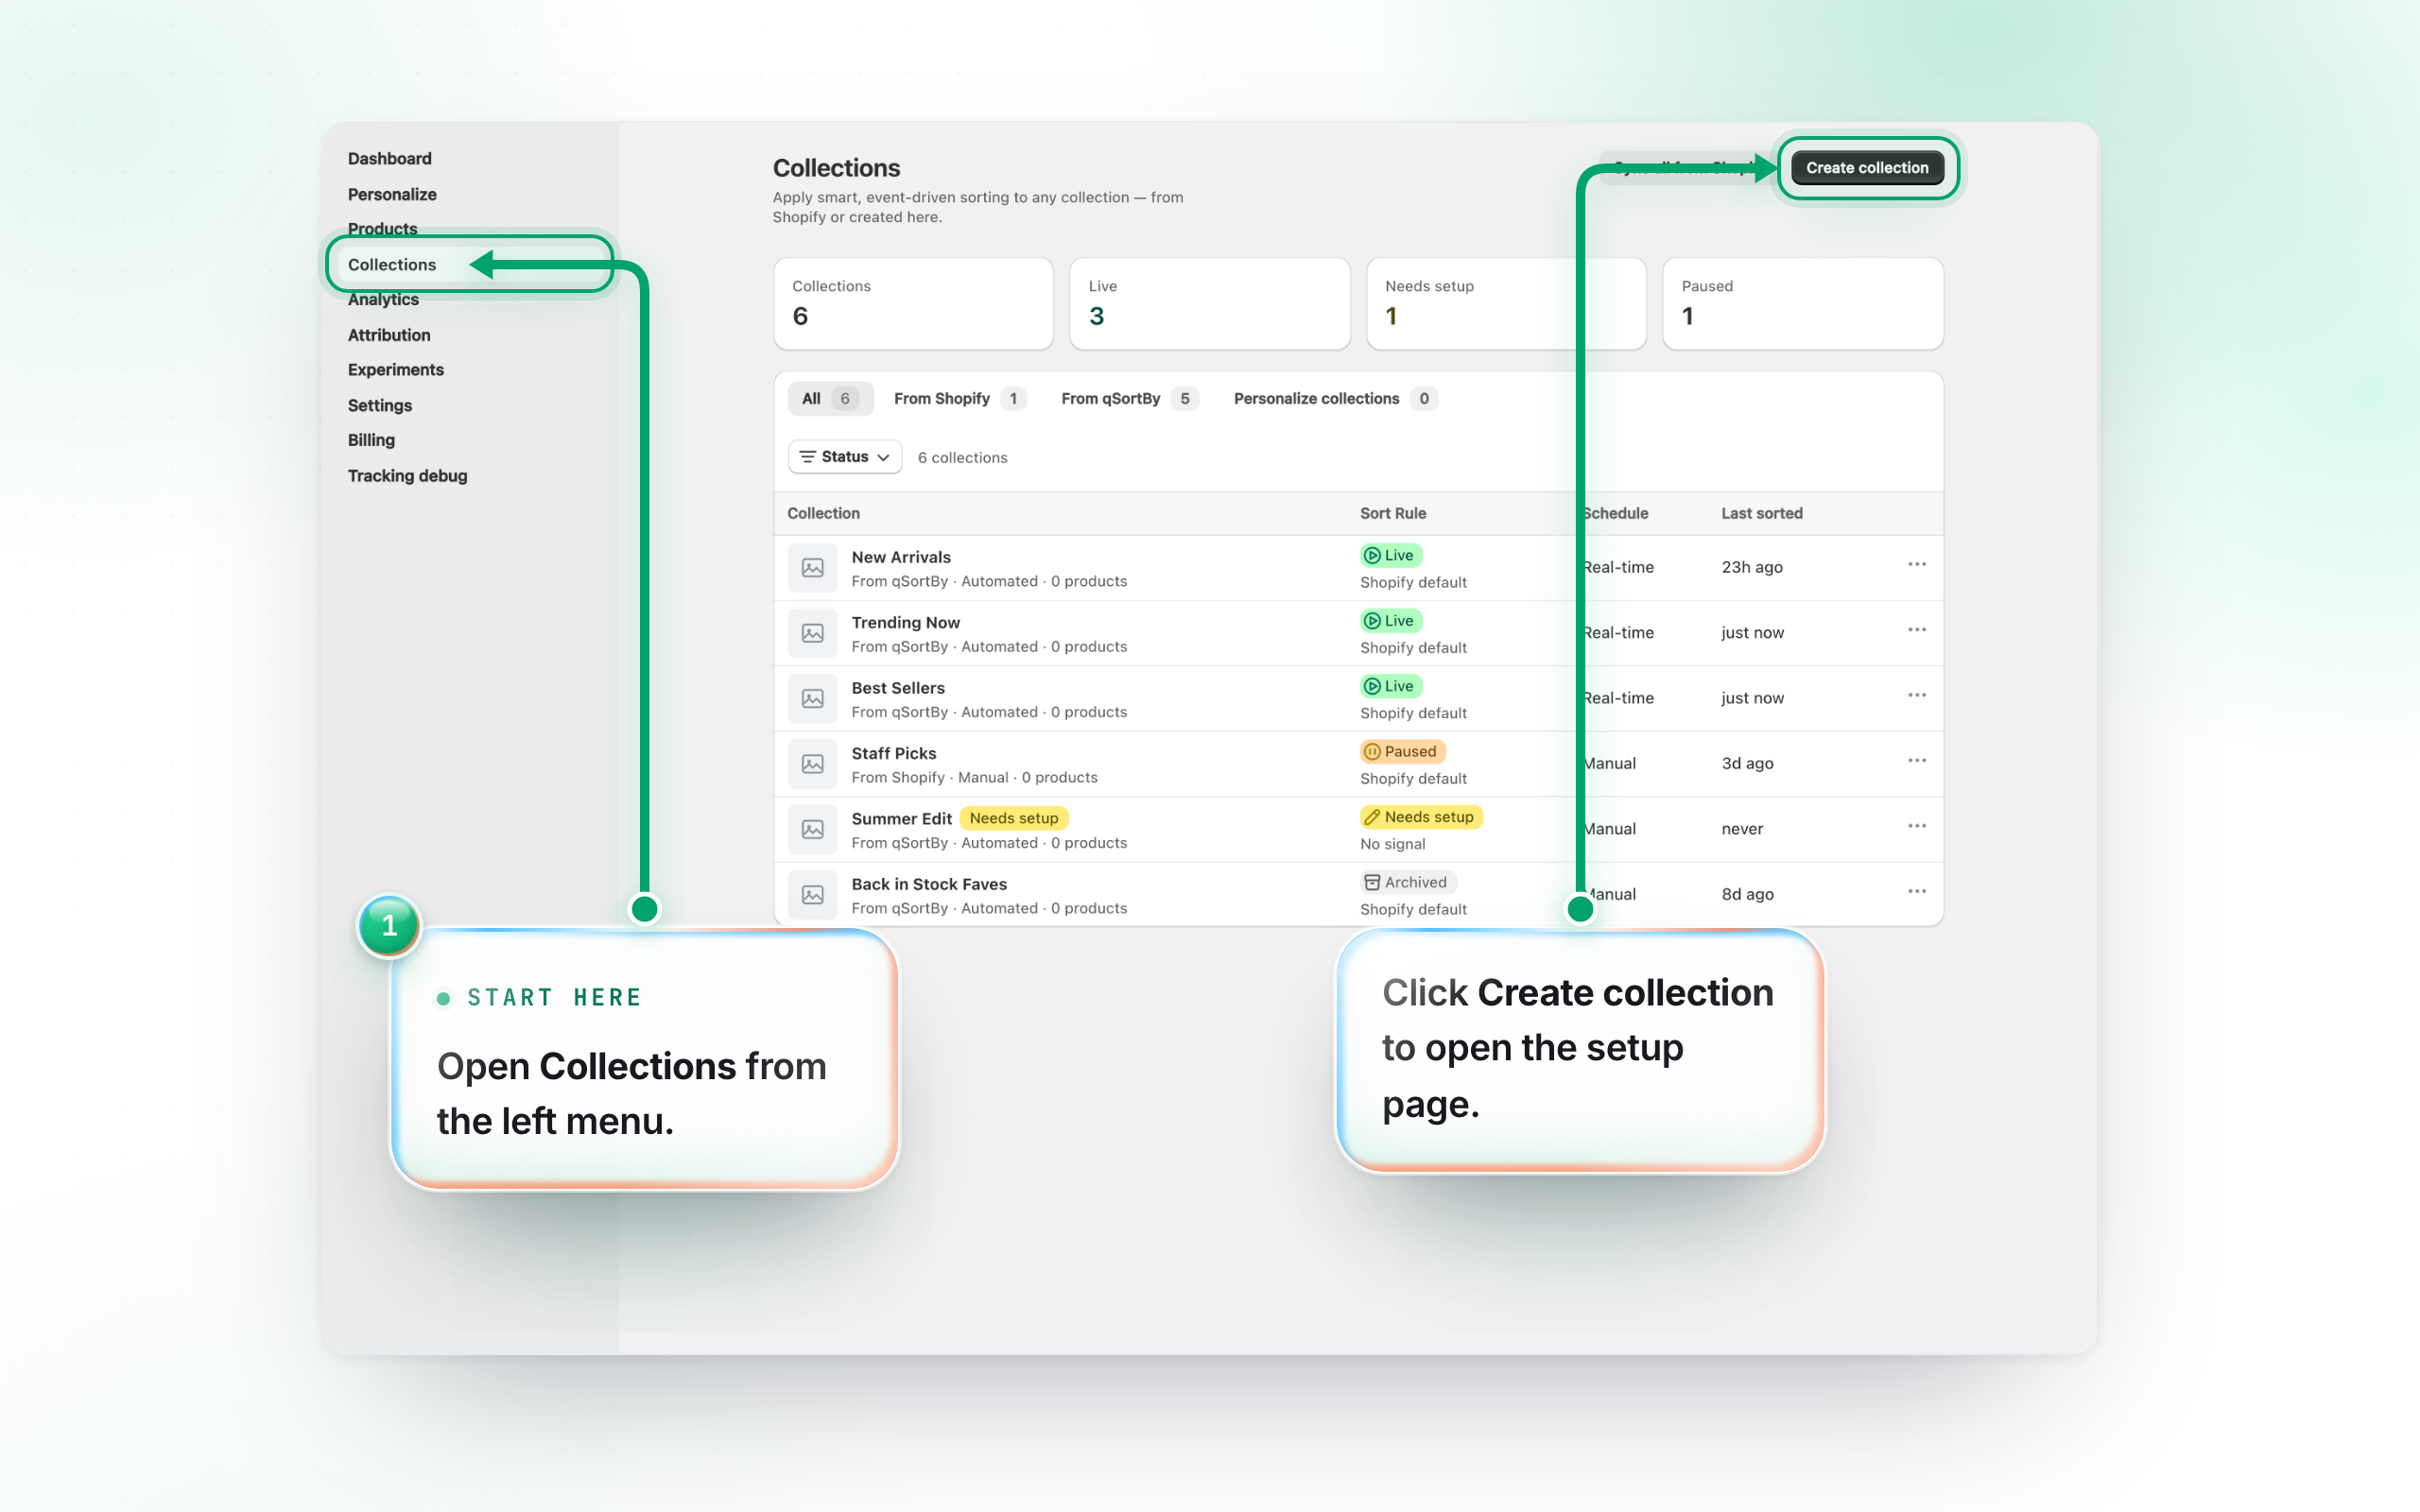
Open Collections from the left menu, then click Create collection (top right). It opens the setup page. The tiles above the list count your collections in total and by state — Live, Needs setup, Paused.
2. Details — name it and pick a ranking rule
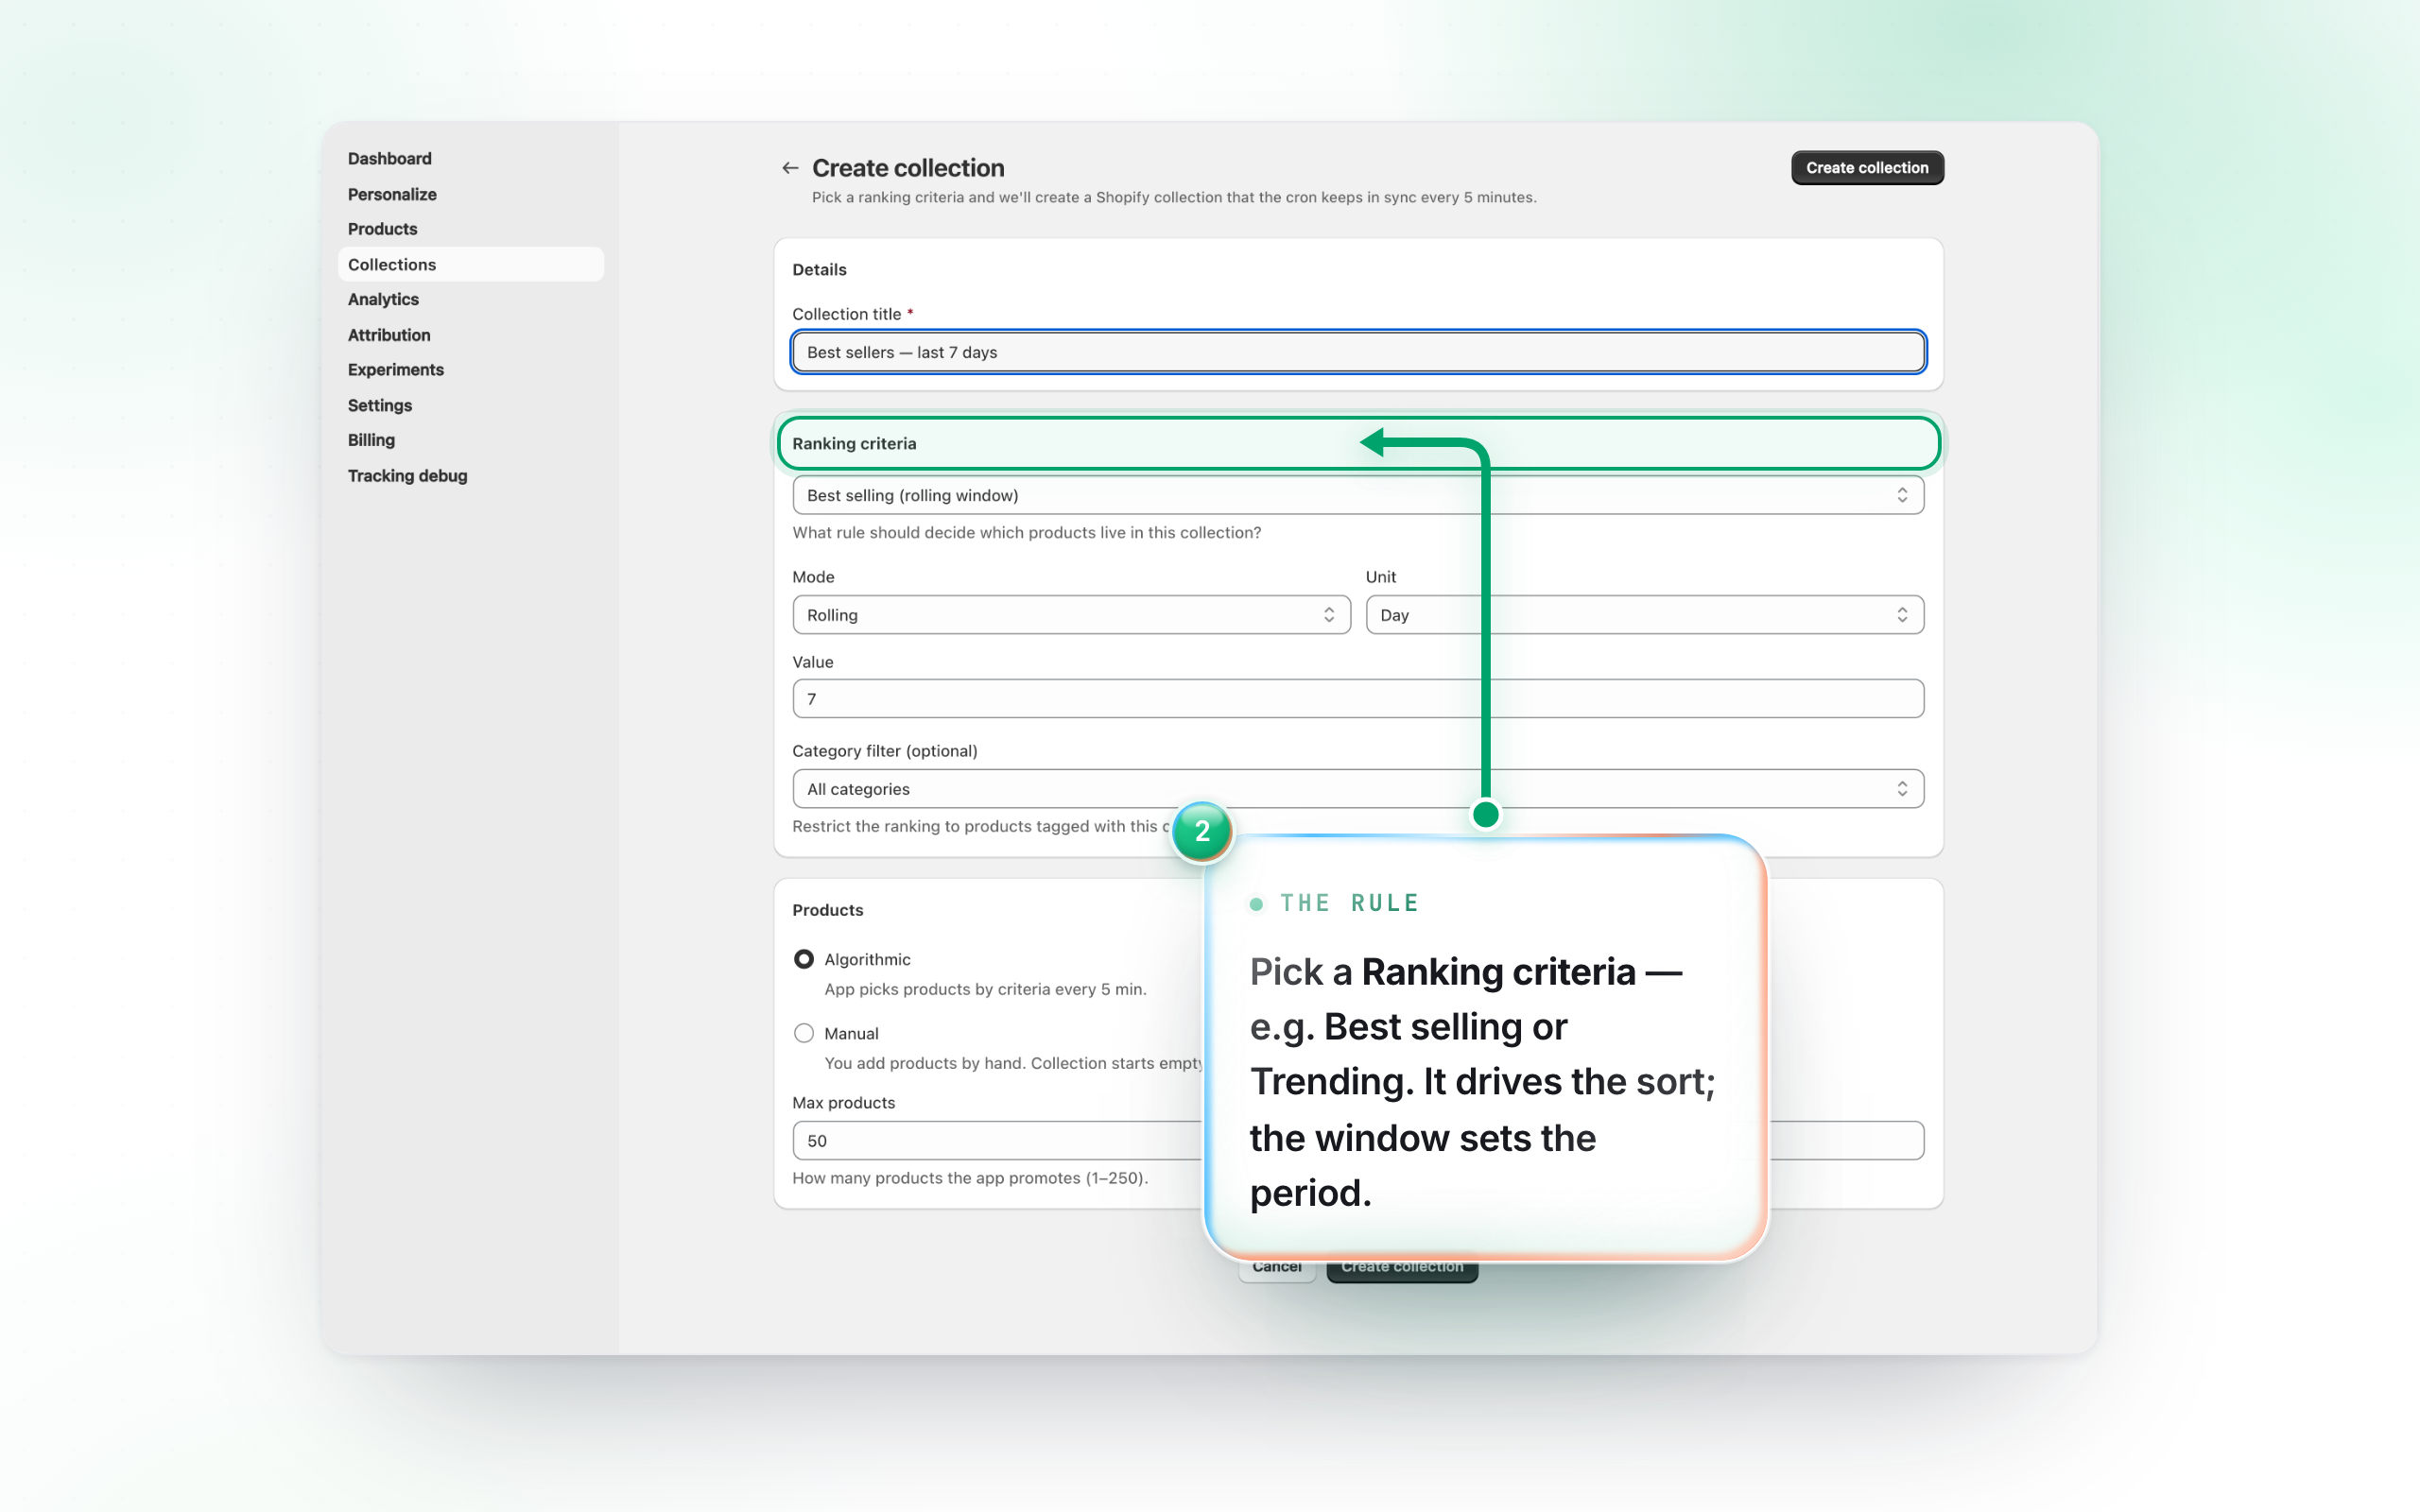
Under Details, give the collection a shopper-facing Collection title (e.g. “Best sellers — last 7 days”). Then choose a Ranking criteria — the rule that decides which products go in and how they’re ordered (Best selling, Top revenue, Trending, Newest arrivals, and more; Top rated is marked coming soon here and can only be set later from the collection’s own page). Set the Mode / Unit / Value window it measures over — that picker is hidden for the rules that don’t use a window, namely Most profitable, Customer favorites and Personalize. Each rule is explained in the How QSortby ranks guides.
3. Products — how they get in
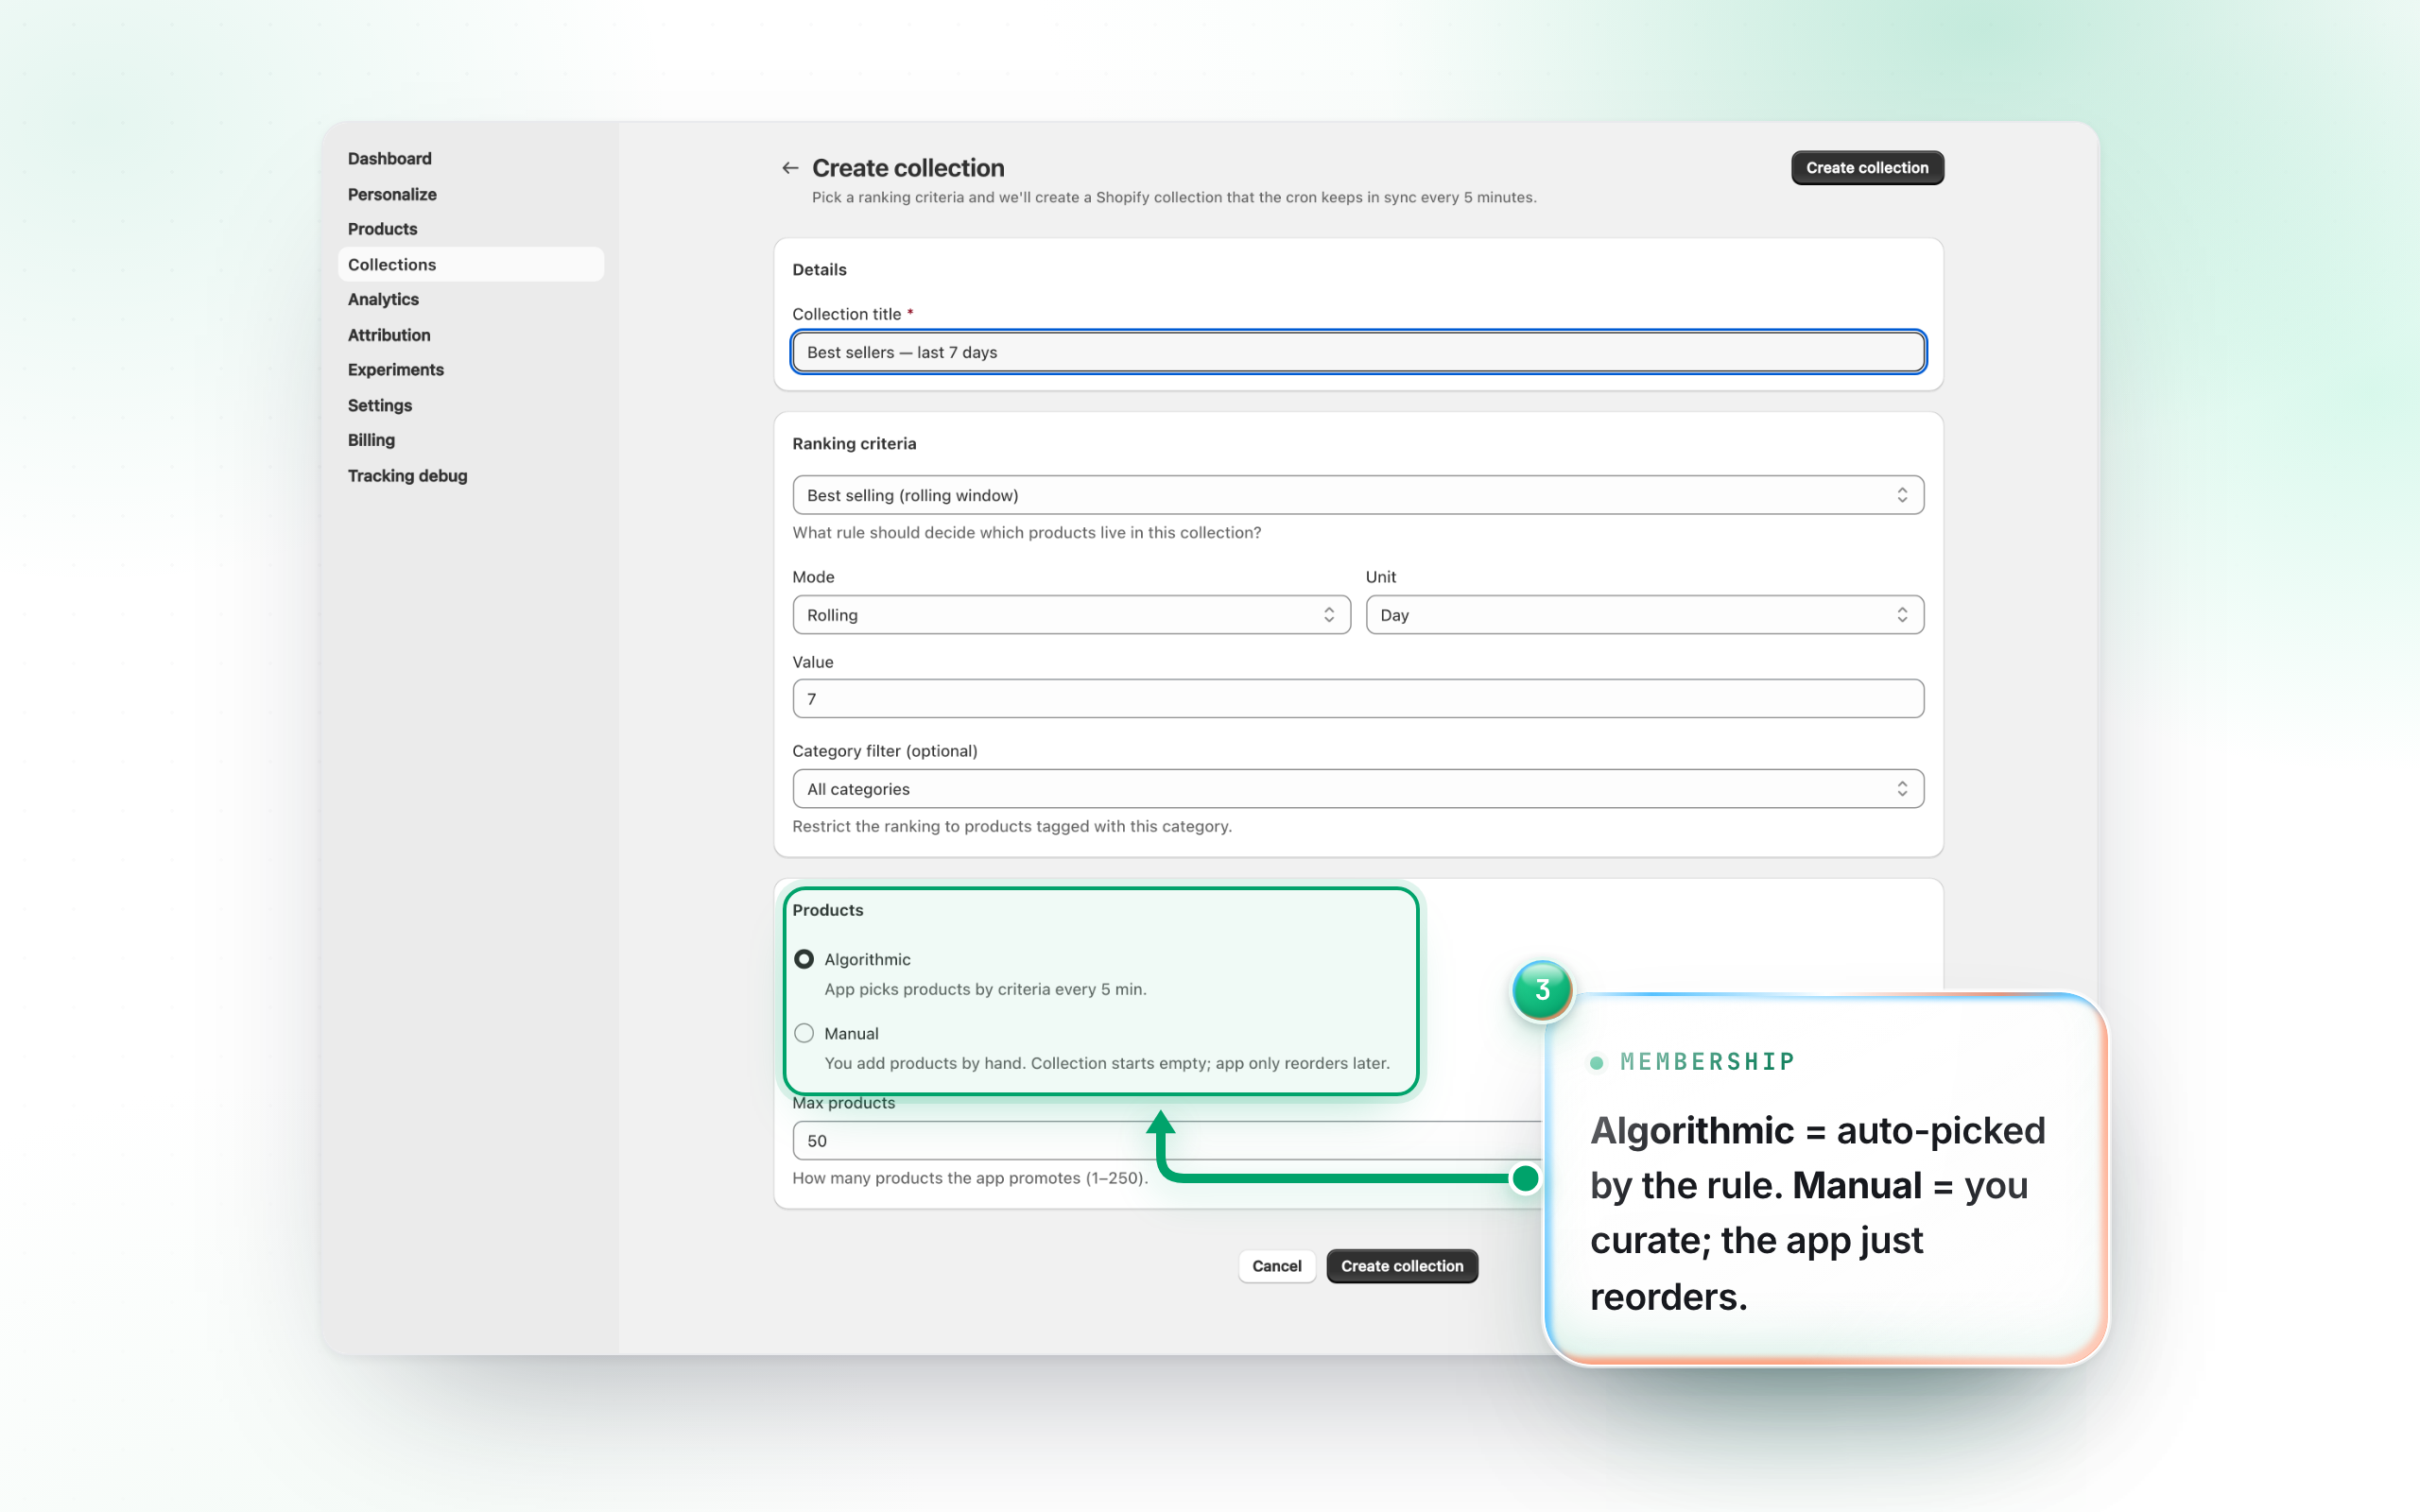
Under Products, pick Algorithmic (the app picks products by your criteria on every sync) or Manual (you add products by hand; the app only reorders them). Only products that are Active and published to the Online Store are eligible — drafts and archived products are never promoted, while sold-out products stay eligible and sink to the bottom. Max products caps how many the app promotes (1–250; ignored in Manual mode). An optional Category filter limits ranking to one category, matched on the product’s category metafield — Best selling is the exception, matching on the older tag-based category field and case-sensitively, so a Best-selling collection with a category filter can come back short or empty where other rules find plenty.
4. Keep updated, then create it
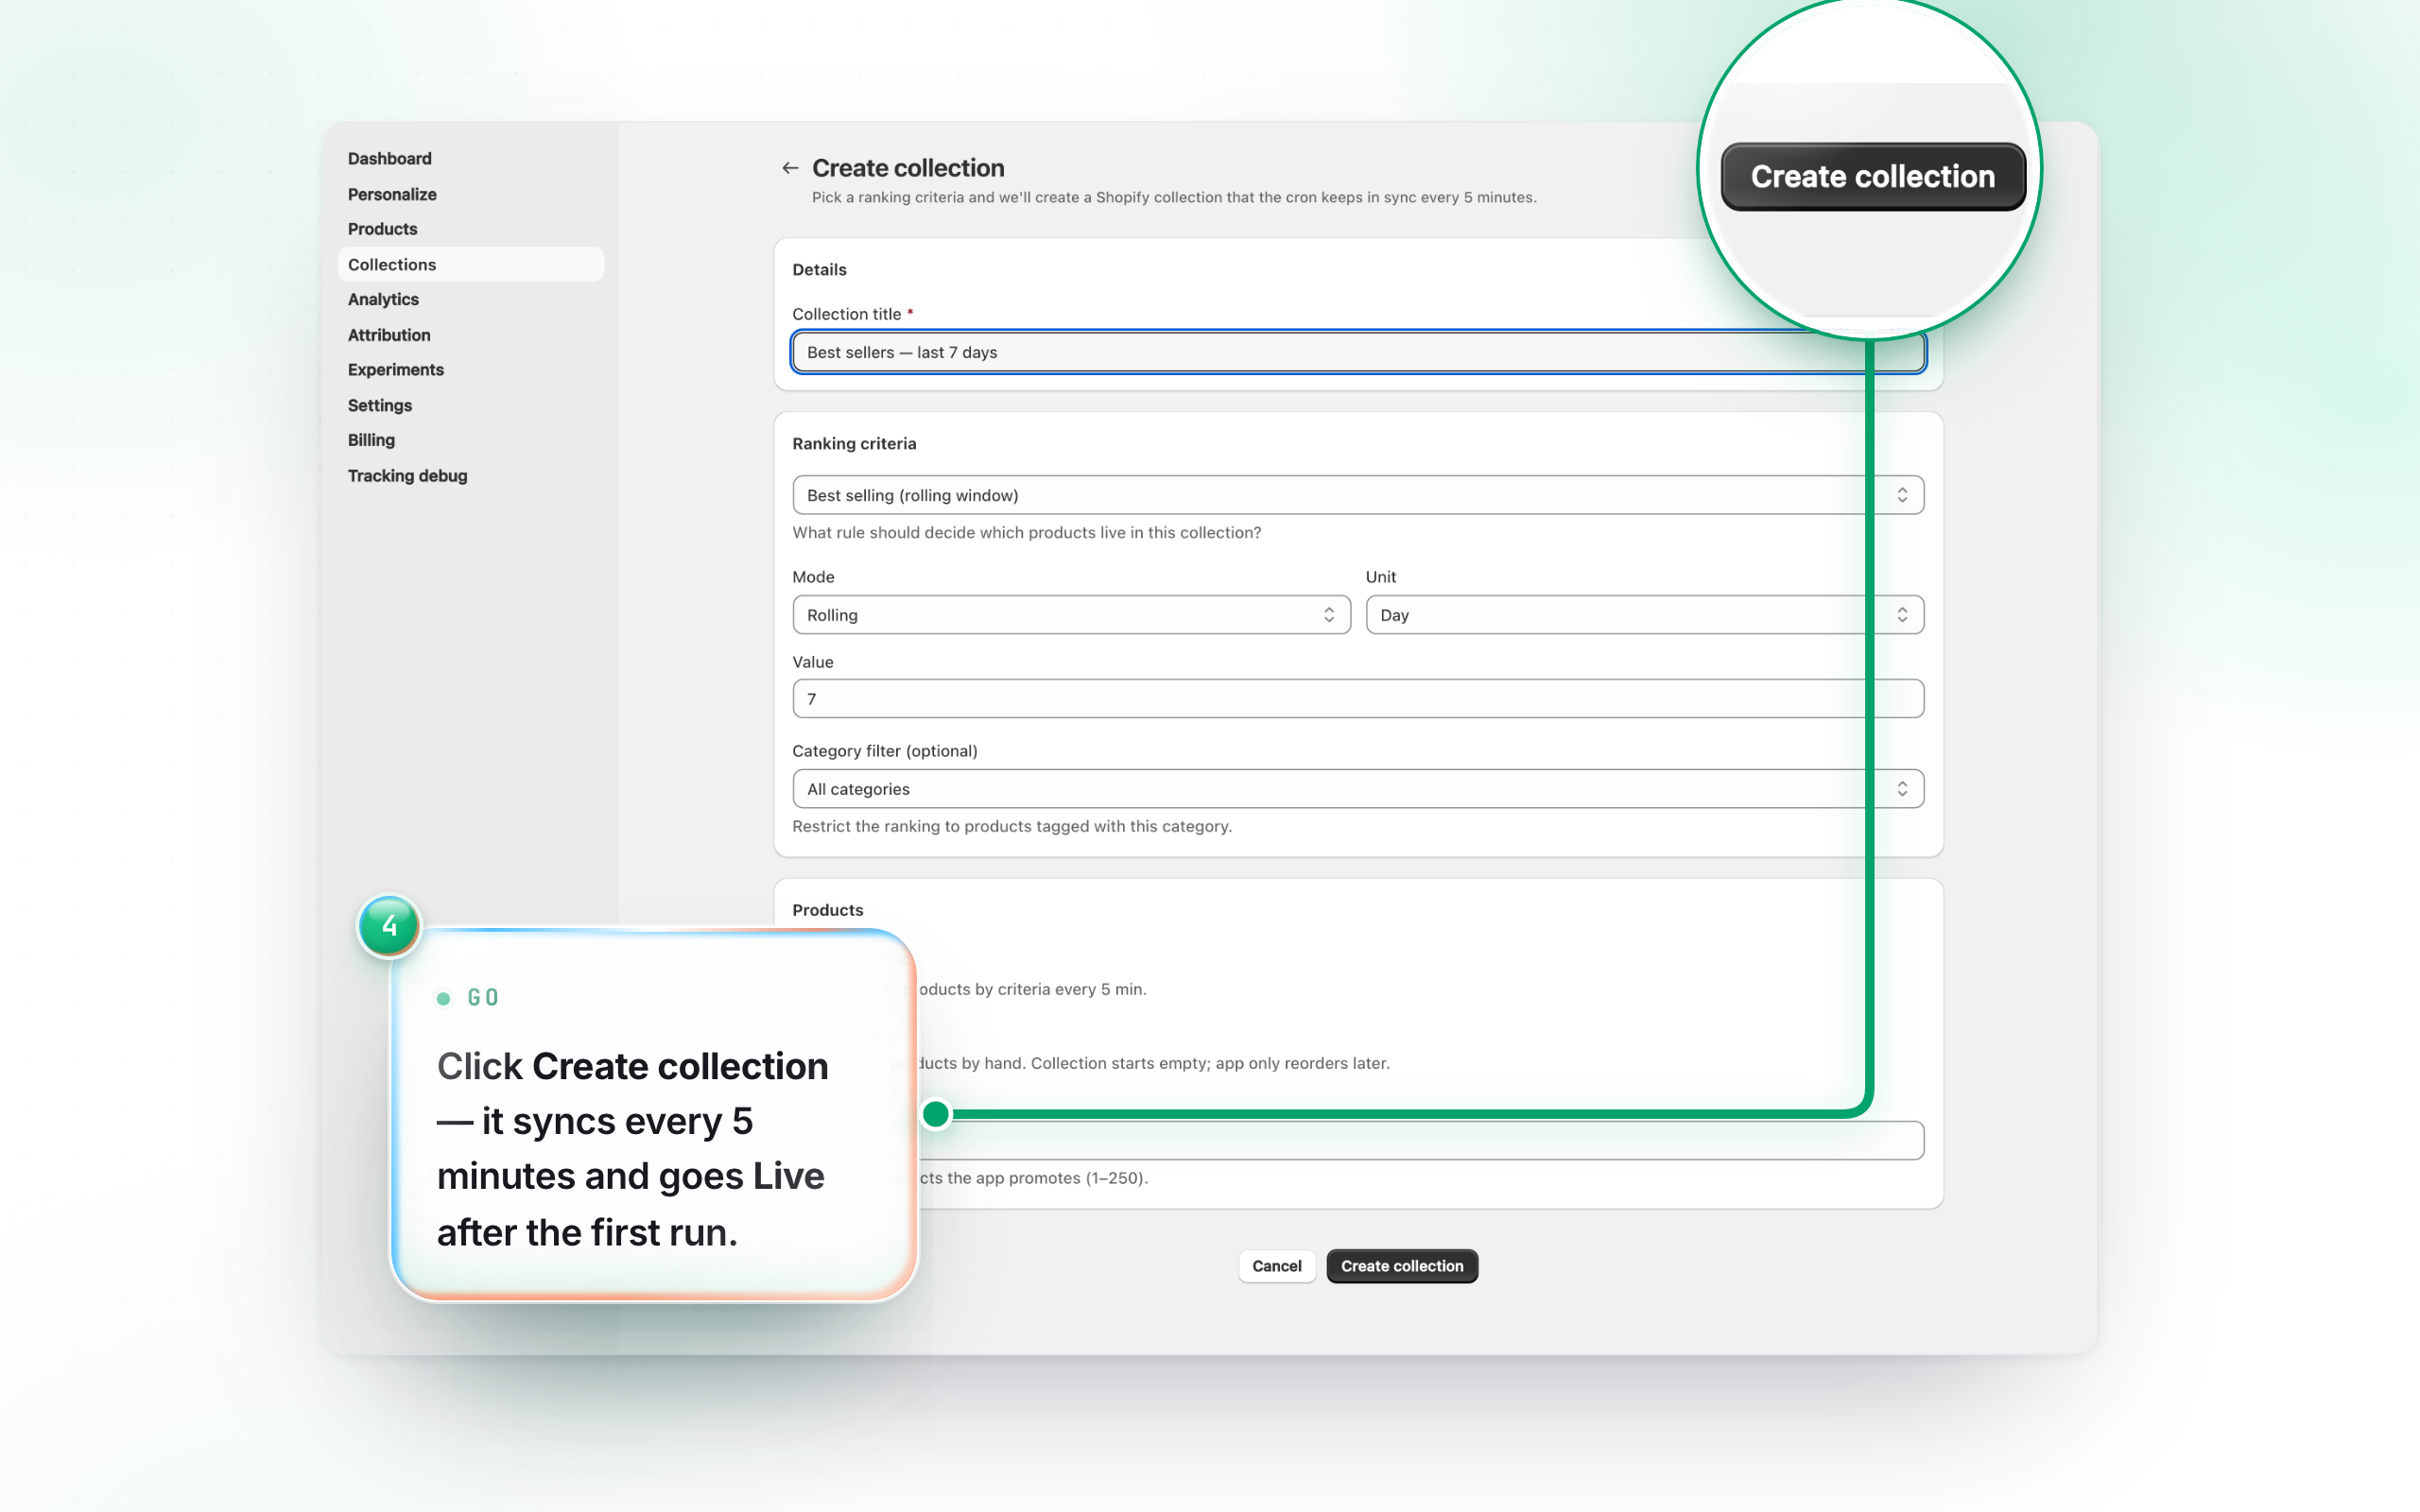
Under Keep updated, leave Update automatically on and set How often (every 5, 15 or 30 minutes, hourly, every 6 hours, or a custom 5–1440 minutes); Push to Shopify automatically ships each new order straight to your store, or stages it for you to review. Then click Create collection. QSortby makes the Shopify collection and starts keeping it in sync on that schedule. It appears in your list as Live — or as Paused if you turned automatic updates off.