Set up QSortby — the 5-step wizard
Get your store sorting in five guided steps: choose your industry, enable the pixel, turn on tracking, add the storefront feeds, and pick a plan.
When you install QSortby, a short setup wizard gets your store ready in five guided steps. You can complete it in one sitting or come back to it any time — it always resumes at your first unfinished step. This guide walks through each step and how to move between them.
1. Open setup from the Dashboard
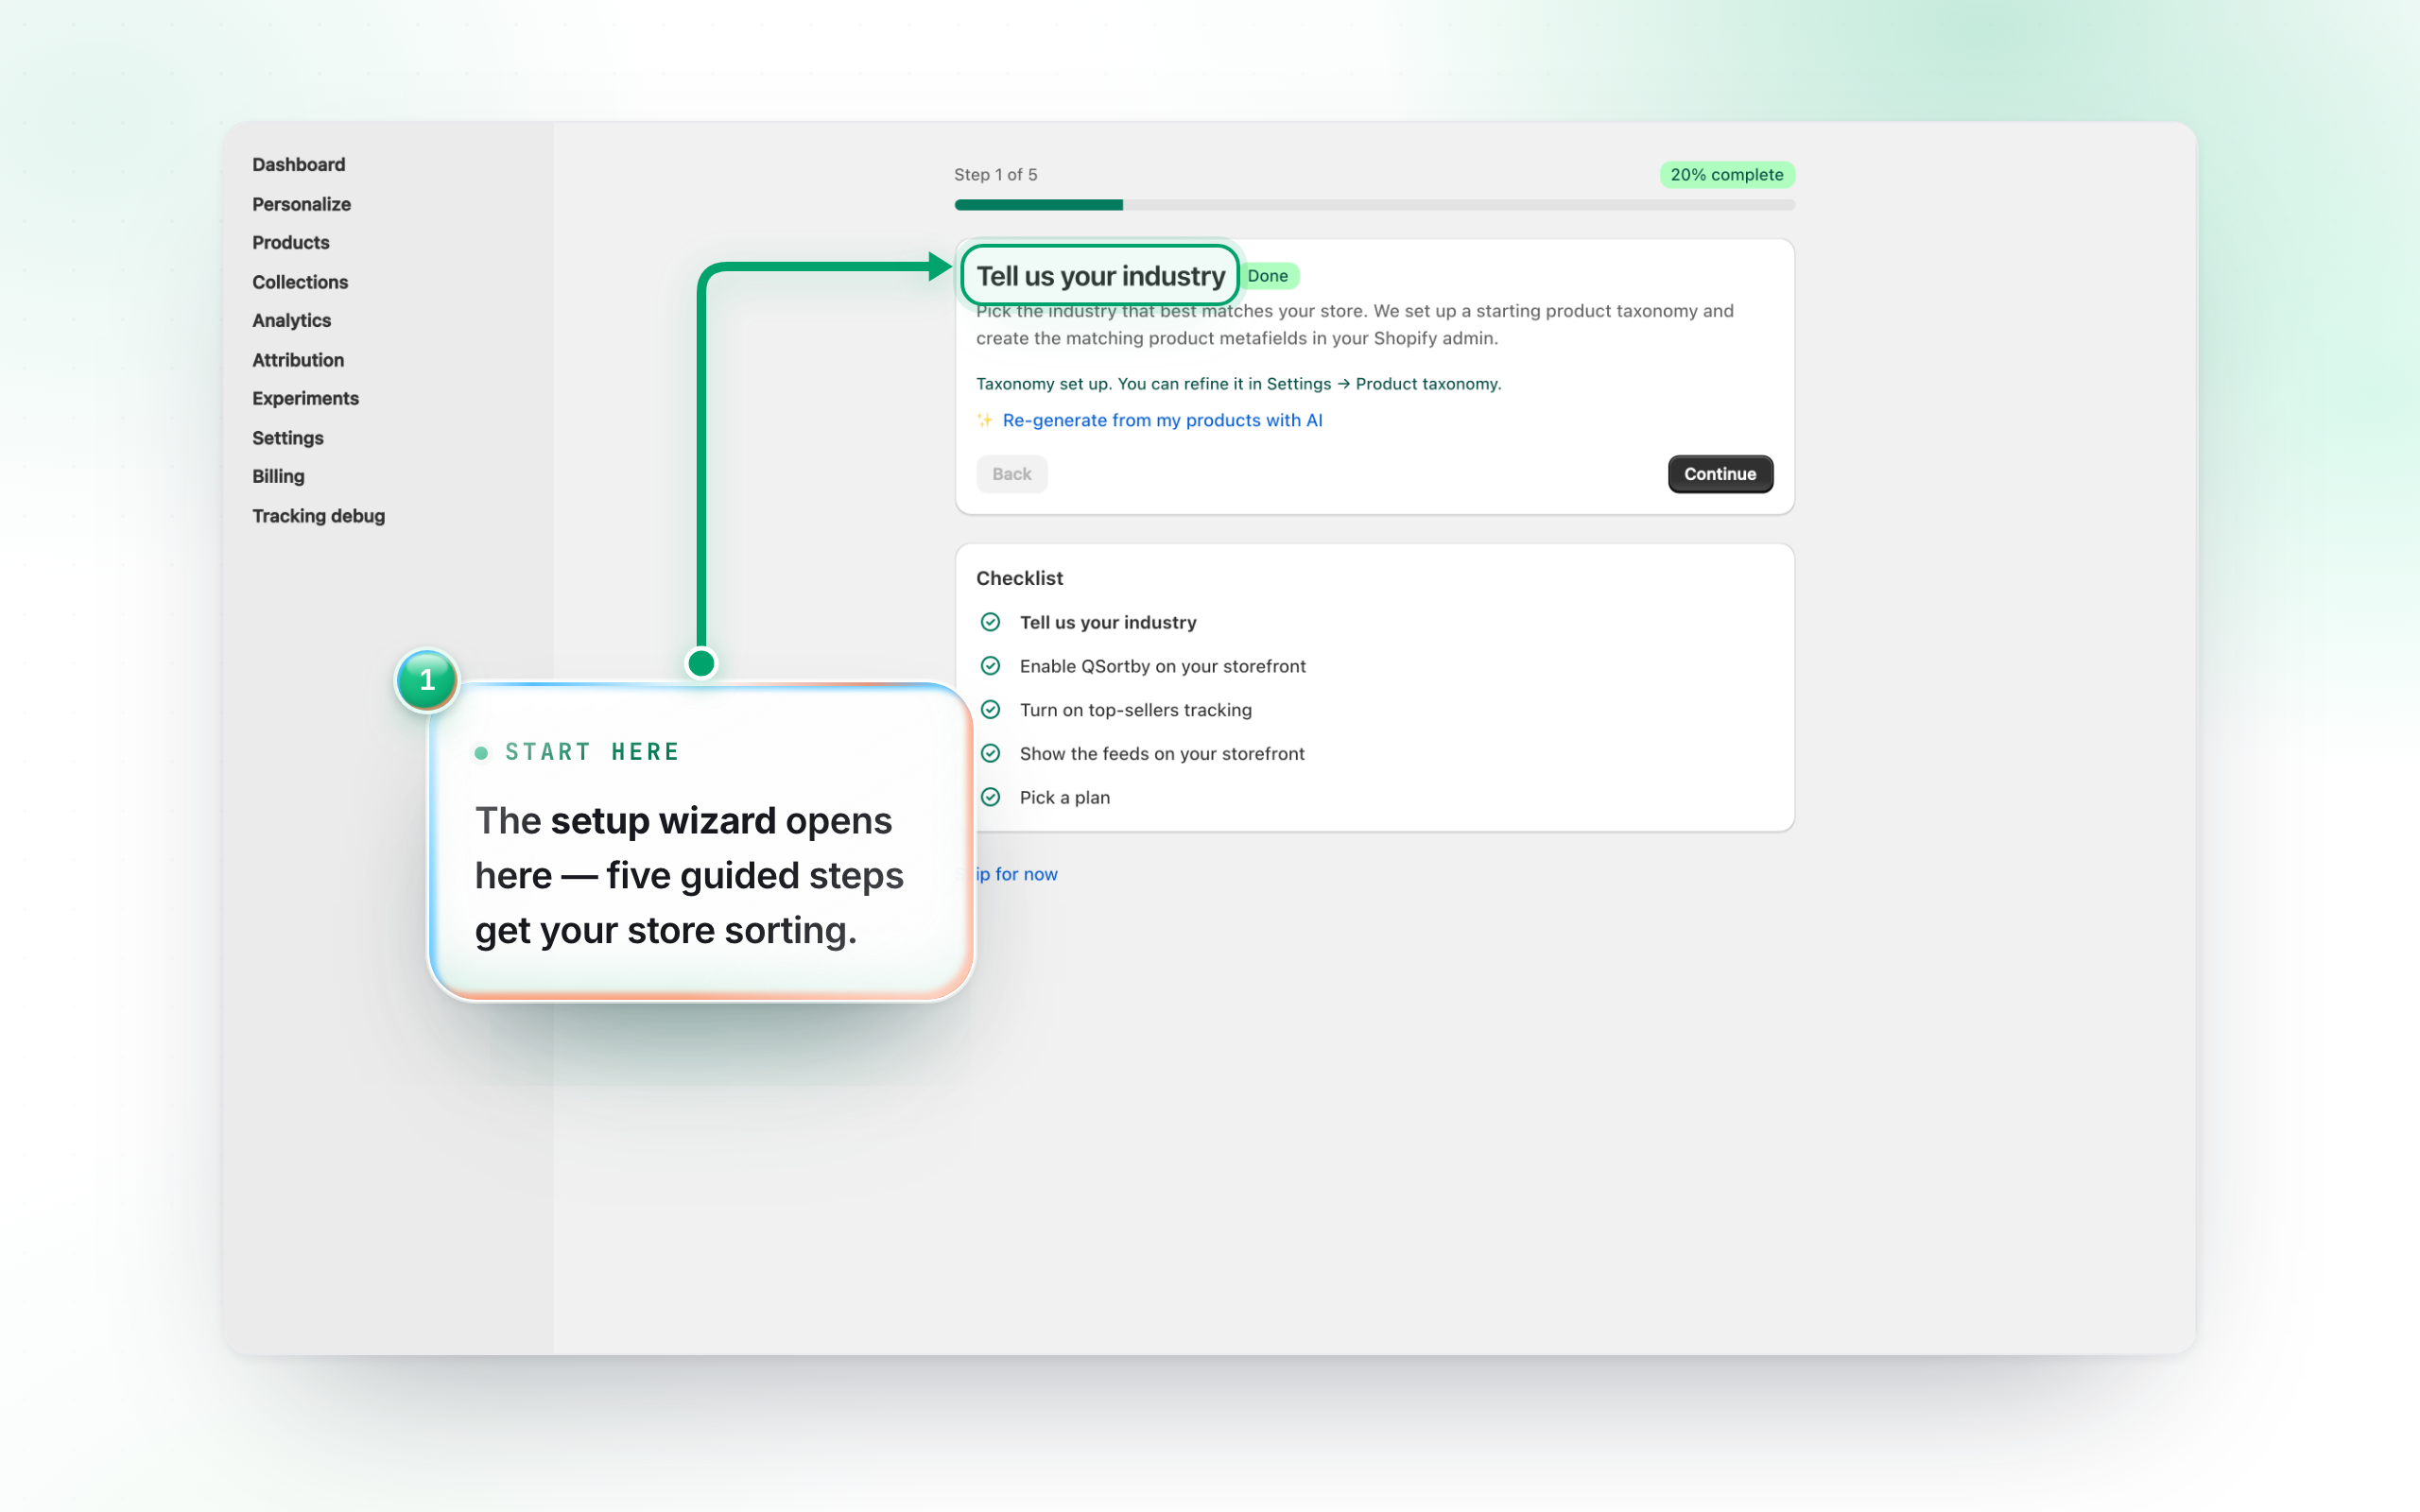
When you install QSortby a short setup wizard gets your store ready in five guided steps. You can reach it any time and it always resumes at your first unfinished step. Here we’ll walk through each step.
2. Follow your progress
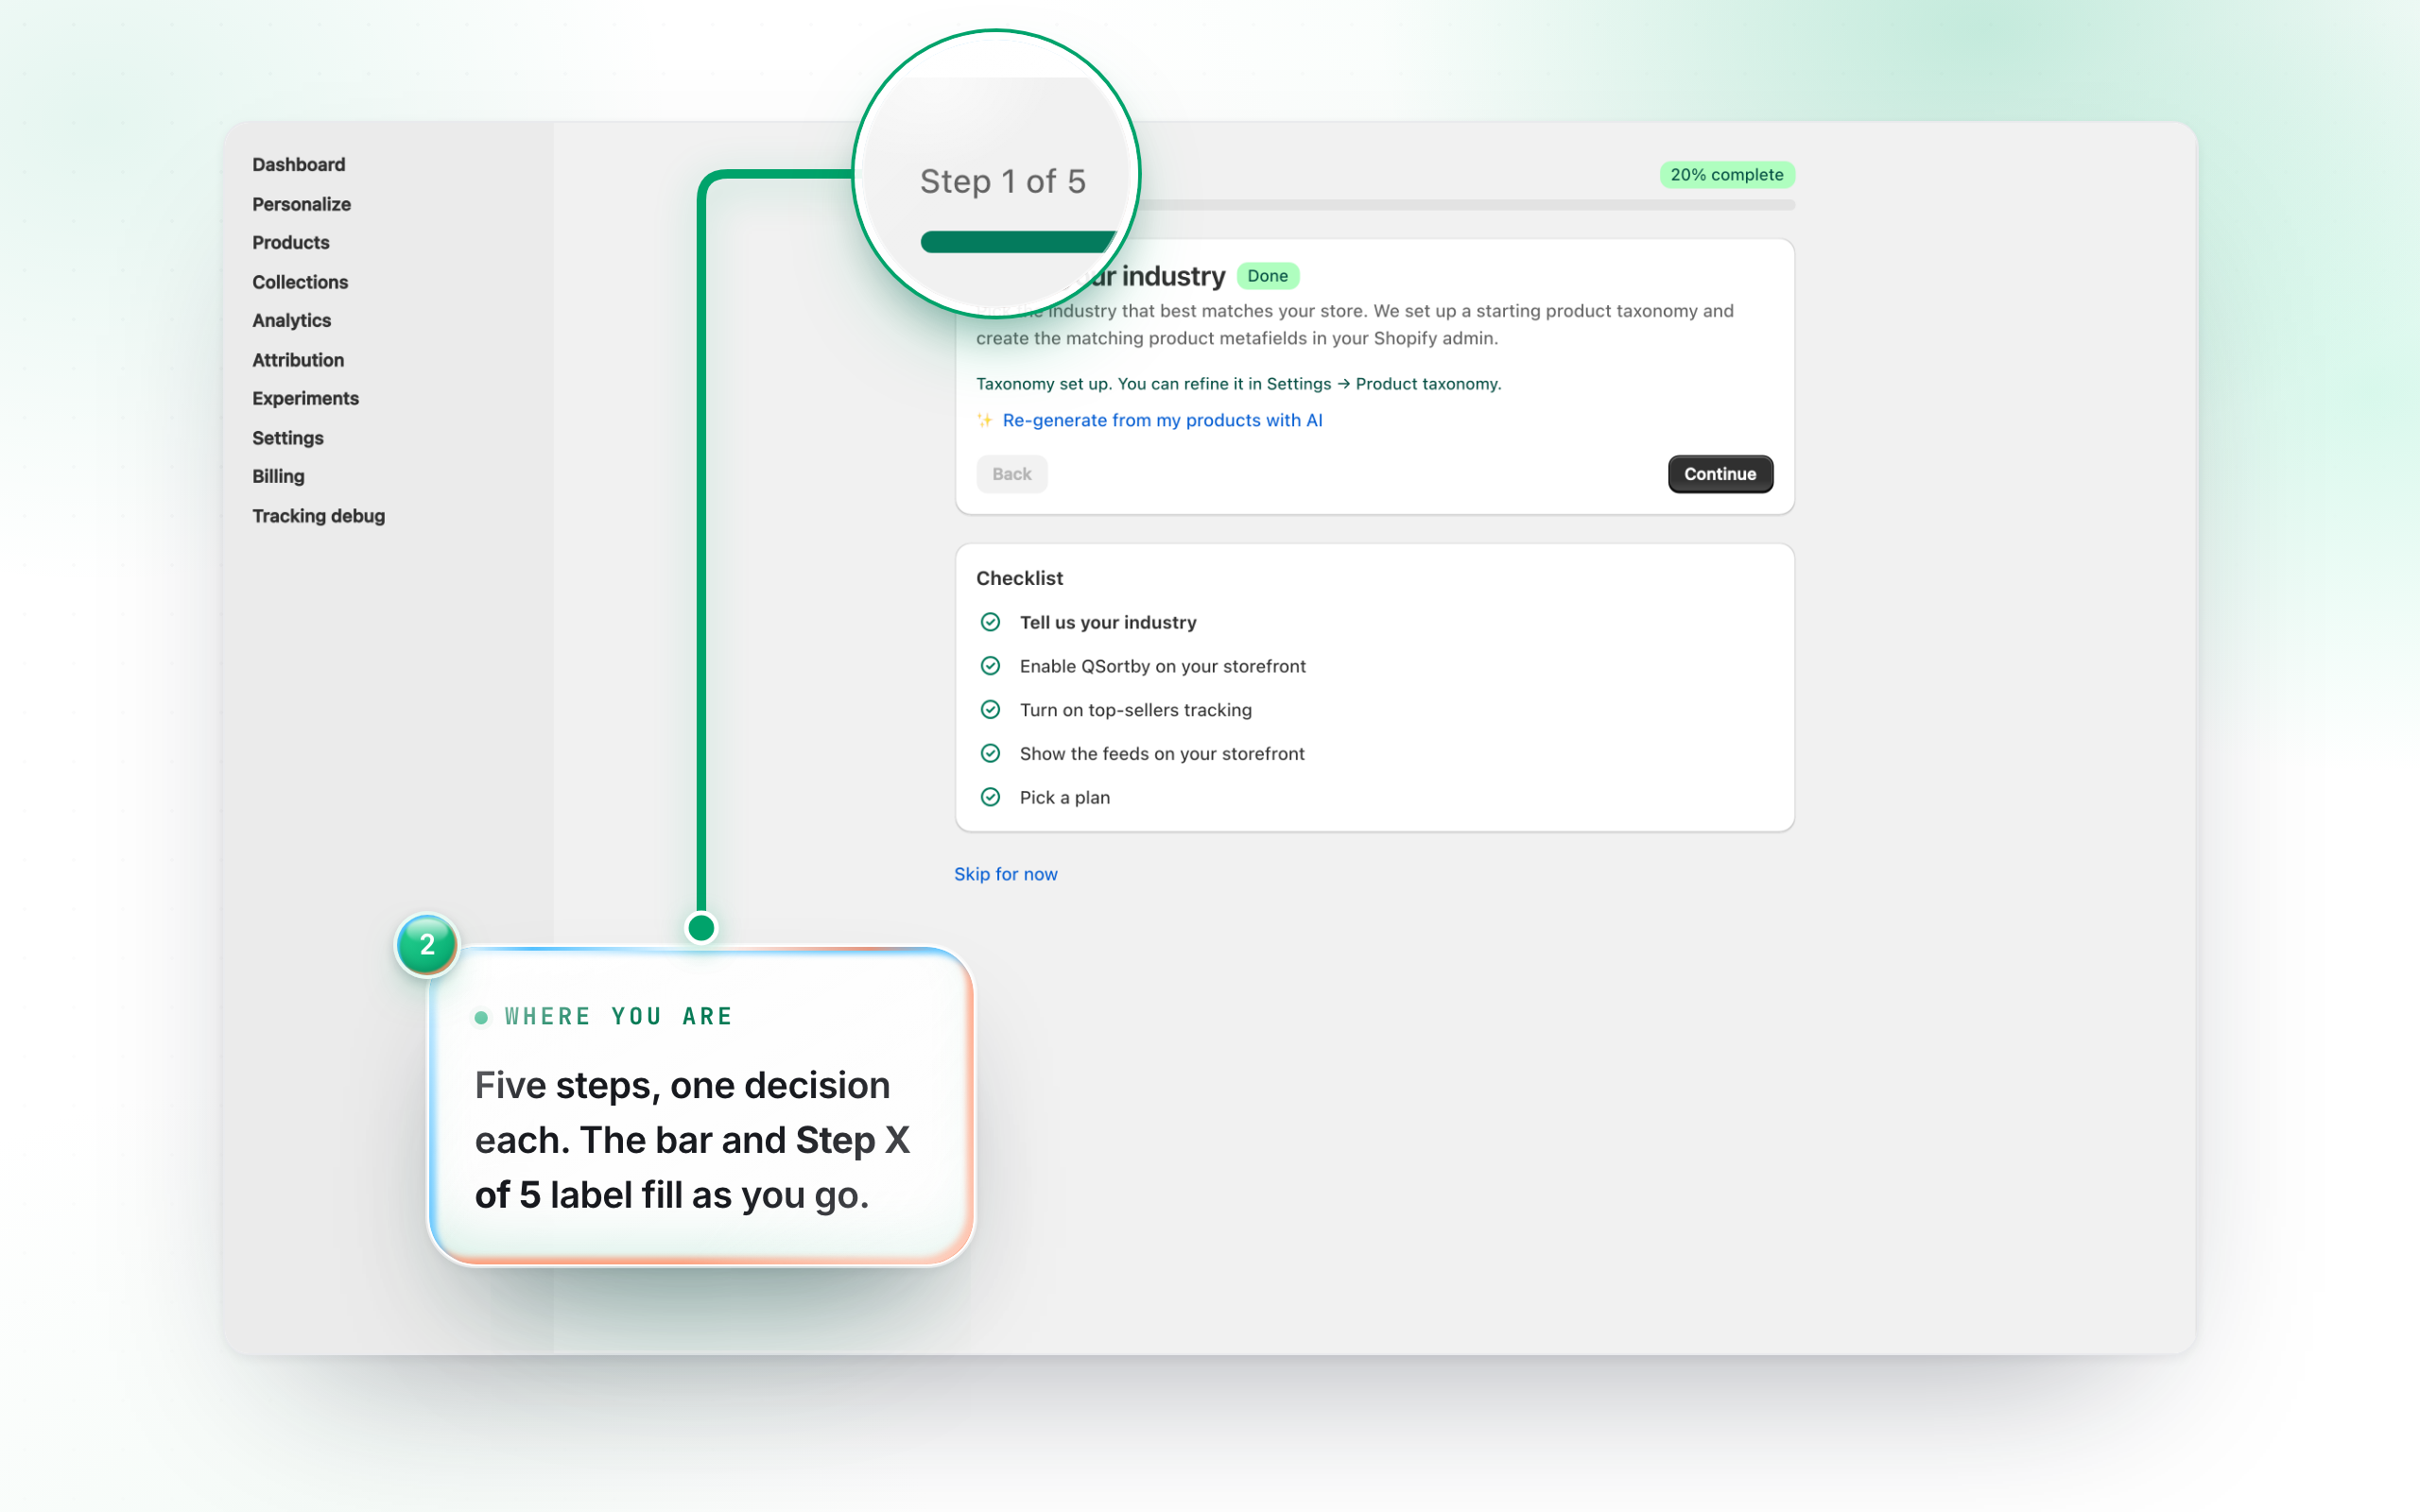
The wizard runs across five steps, and the header shows which one you’re on with a progress bar and a percentage of the way through. Three of them are the ones that matter — industry, pixel, tracking — and they carry a To do or Done badge. The last two are marked Optional and are ticked from the start: adding the storefront blocks and picking a plan are things you can do whenever you like, and neither blocks you from finishing.
3. Step 1 — Tell us your industry
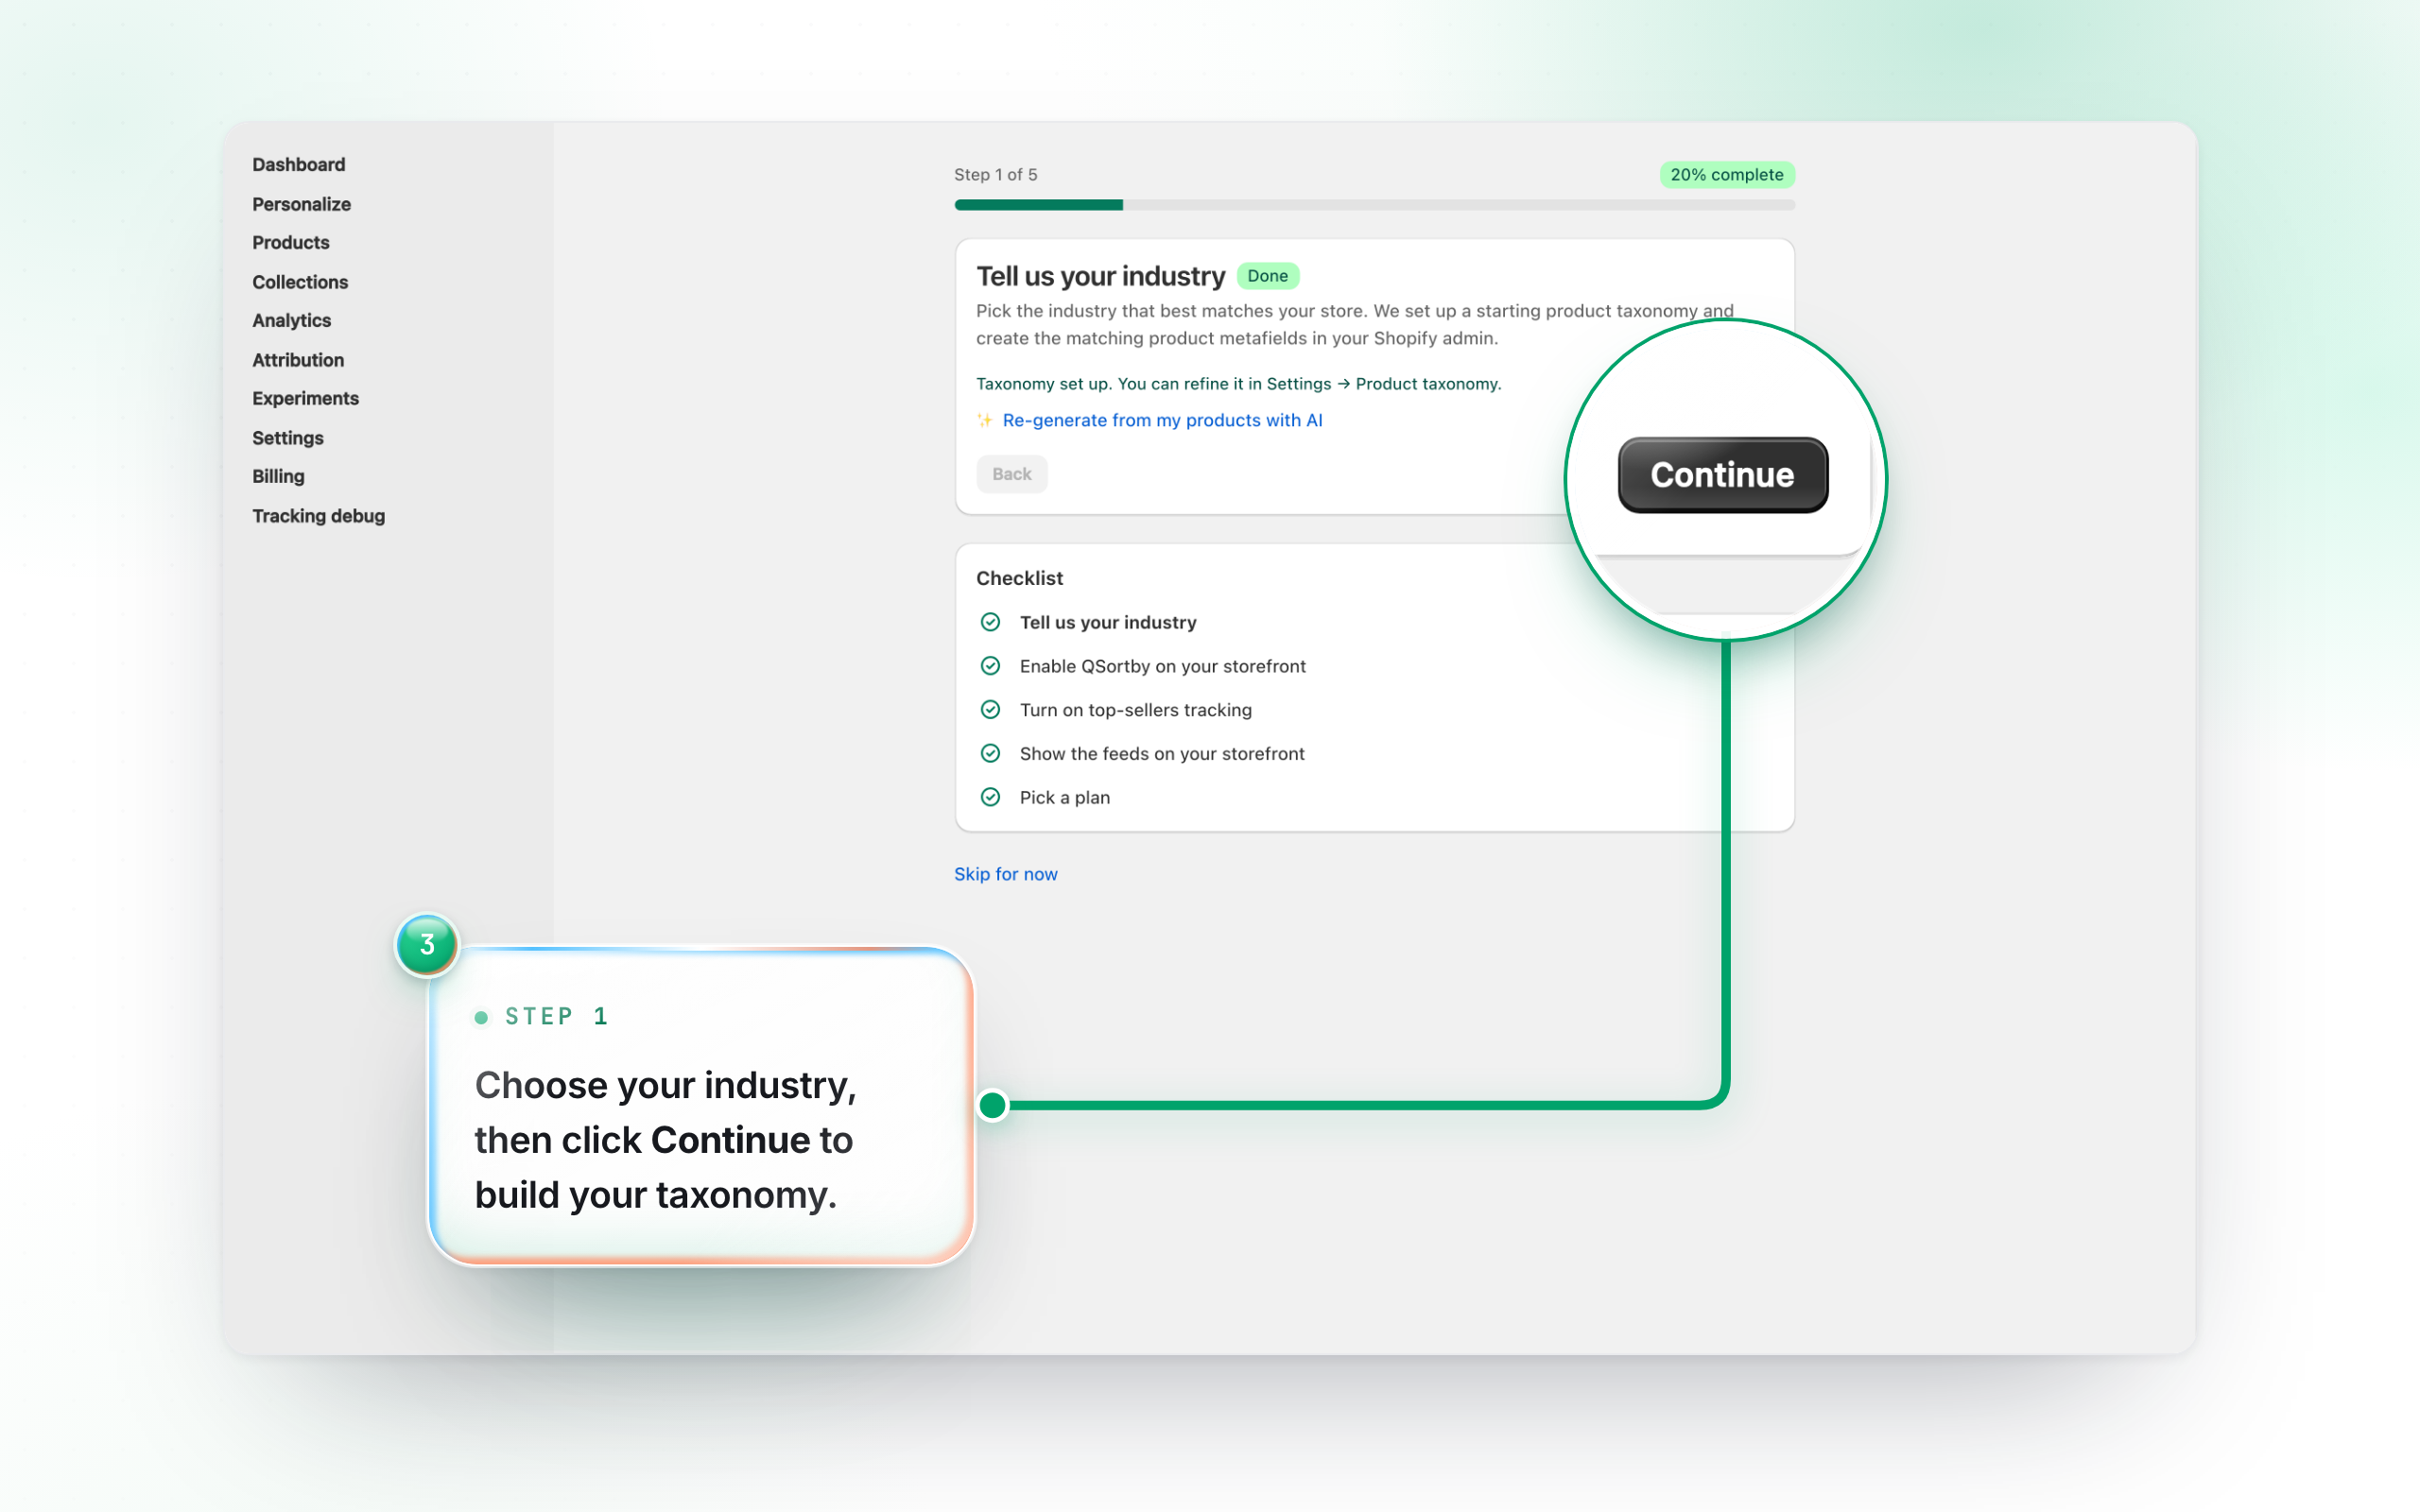
Pick the industry that best matches your store. QSortby builds a starting product taxonomy and the matching Shopify metafields — the vocabulary personalization uses to describe your catalogue, and what your emotional keyword set is generated against. Click Continue when done.
4. Steps 2 & 3 — Turn on tracking
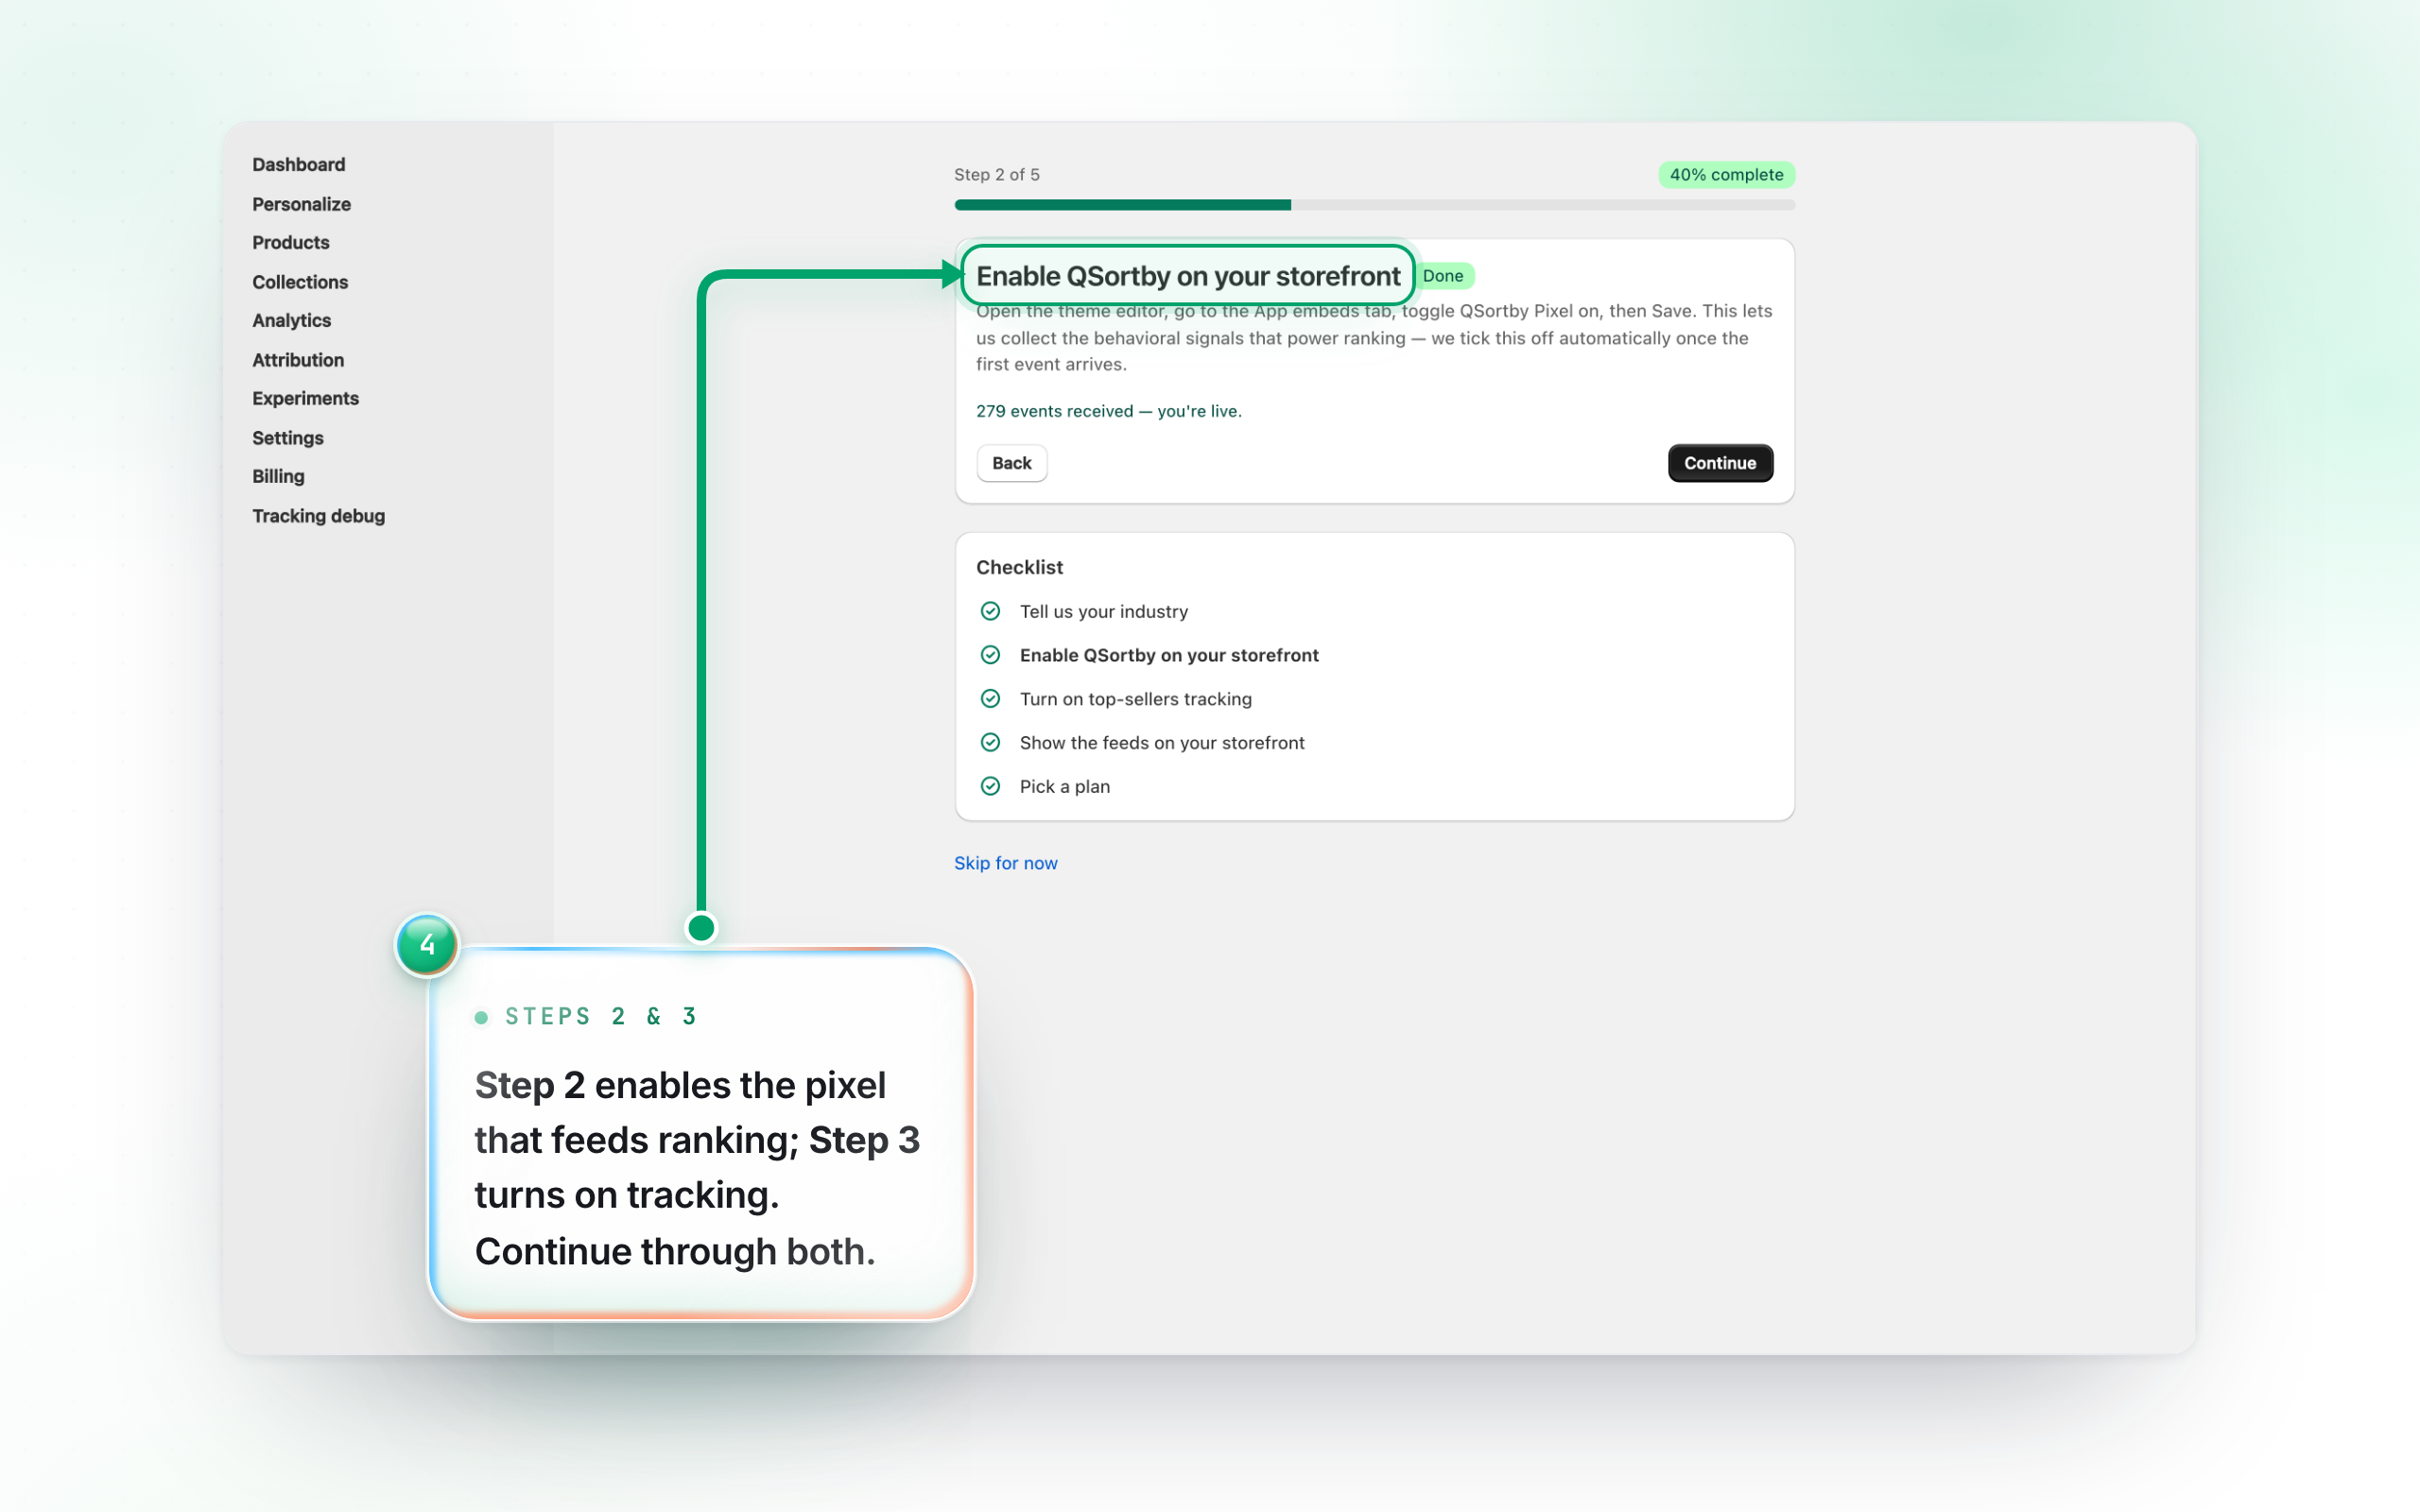
Step 2 enables the QSortby pixel on your storefront — open the theme editor, toggle QSortby Pixel on in App embeds, and Save. It captures the views, clicks and CTR that power ranking; the events received line confirms it’s live. Step 3 then turns on top-sellers tracking with one click.
5. Move between steps — or skip for now
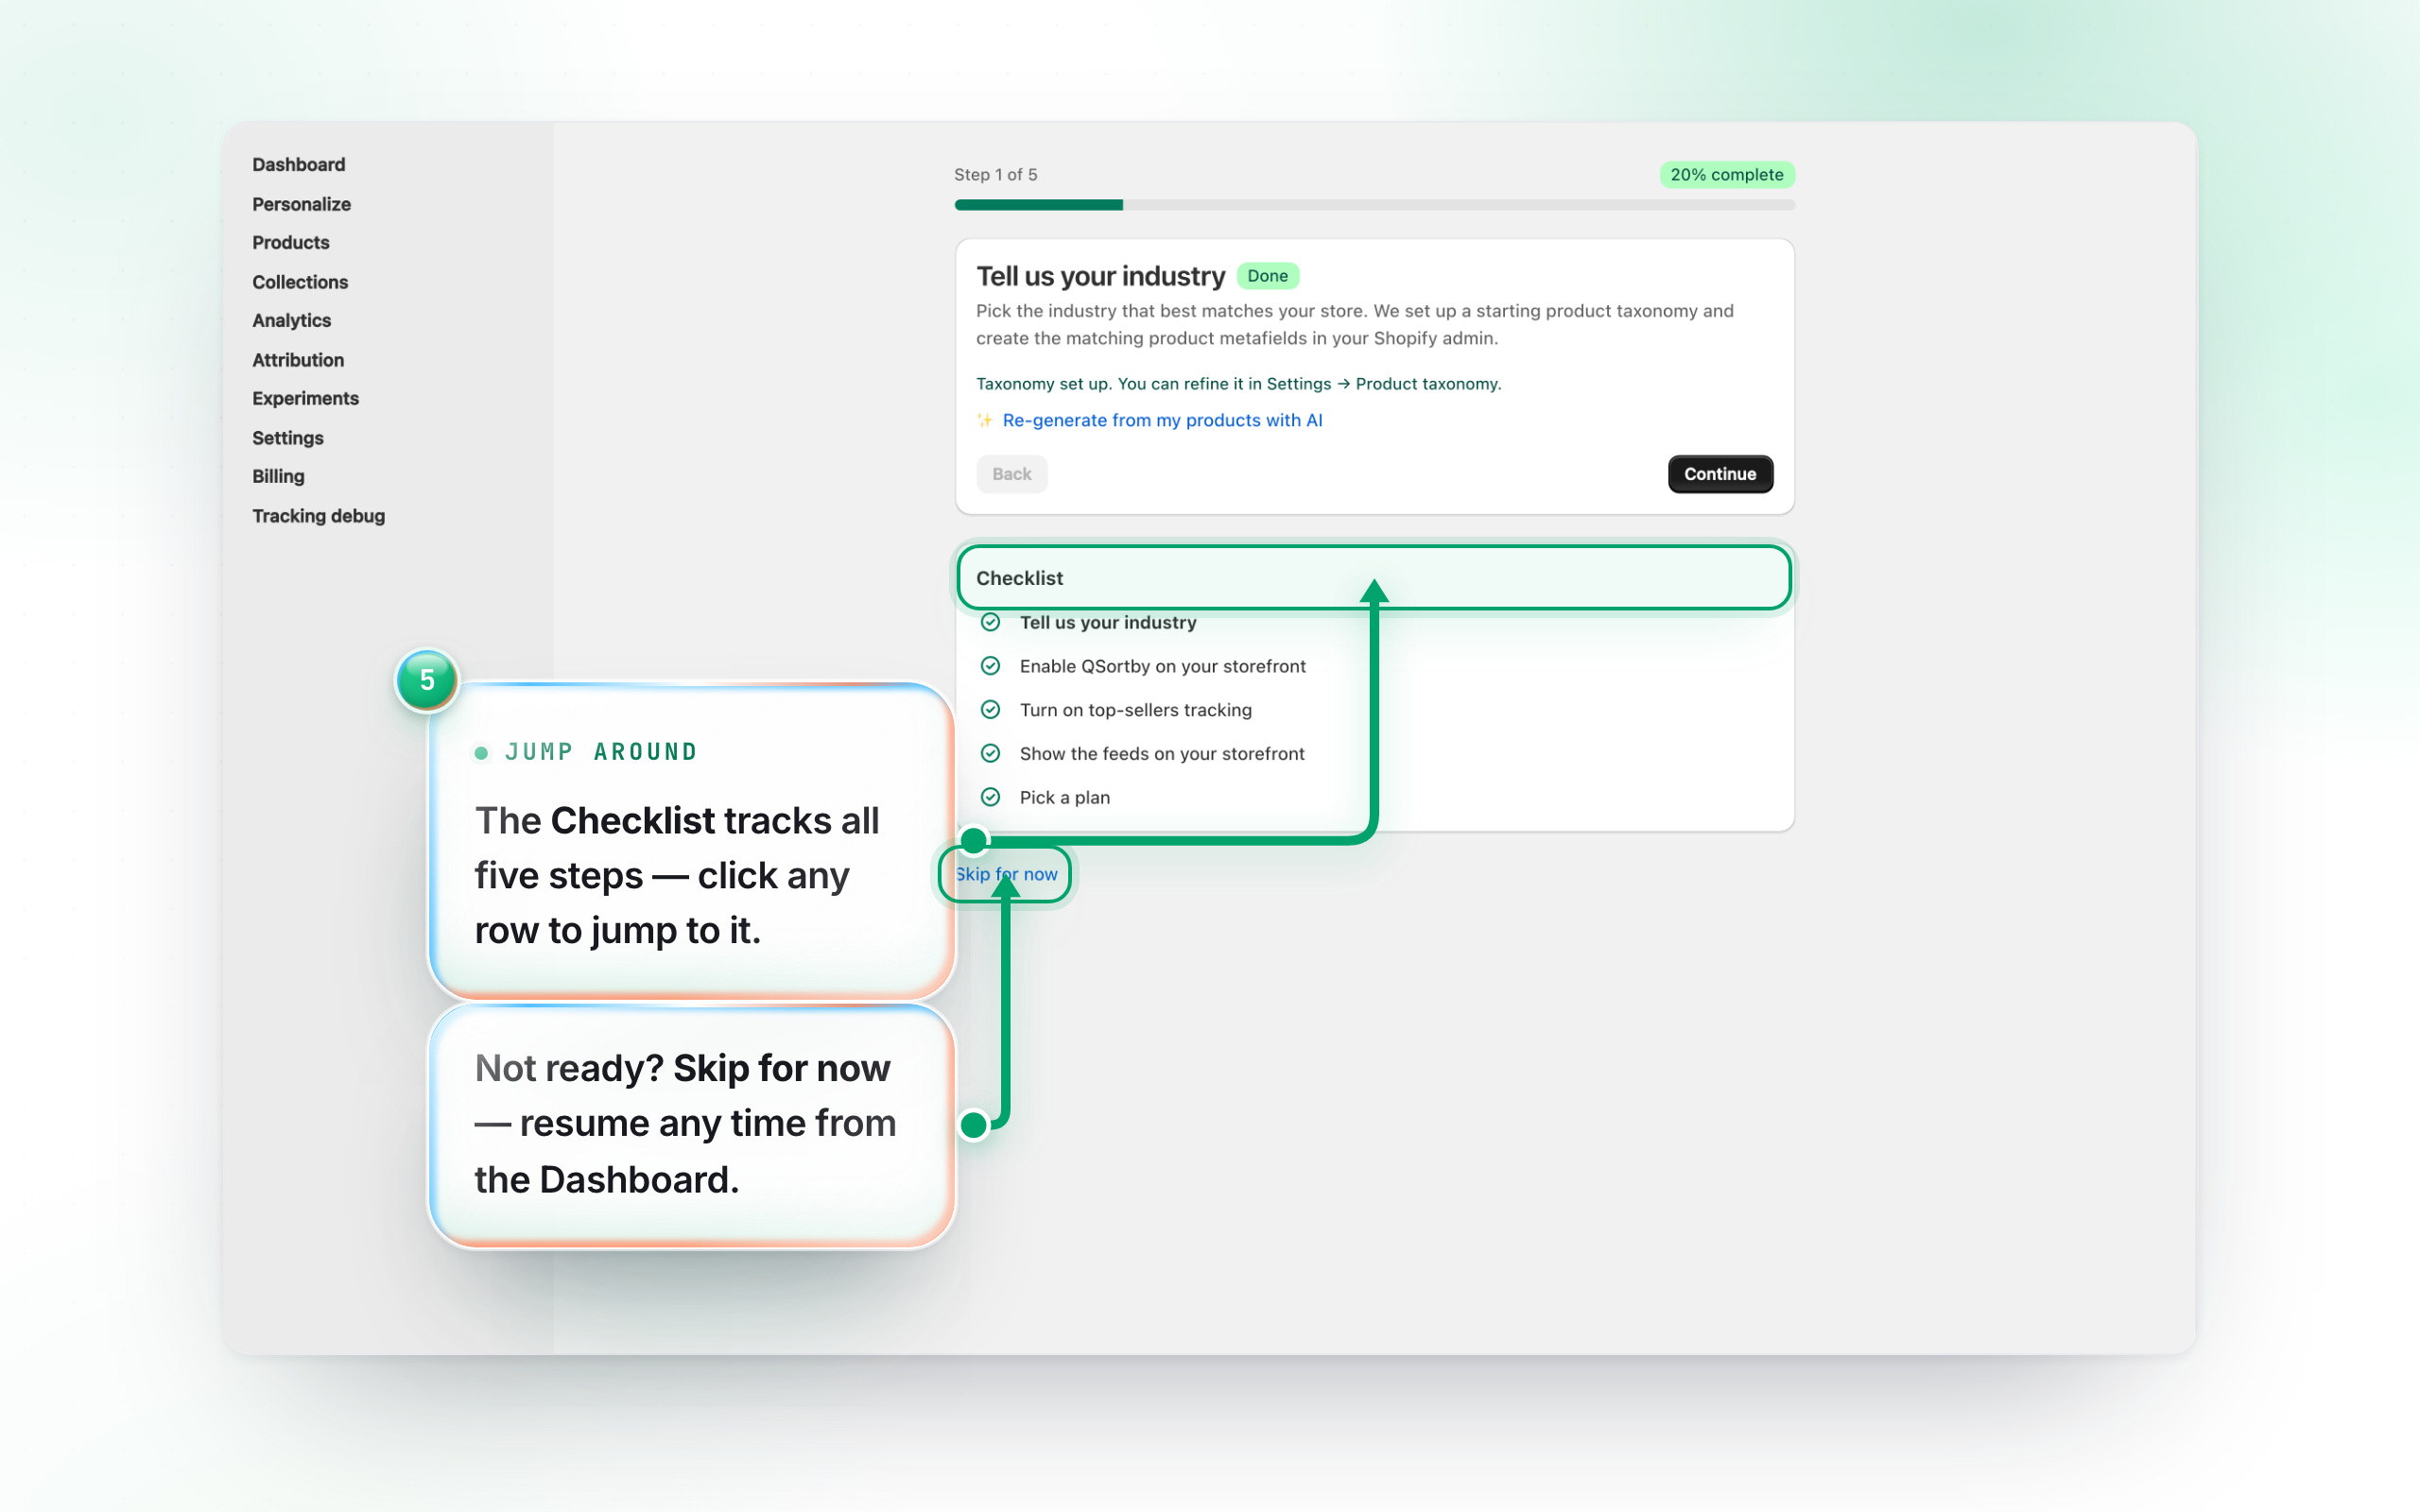
The Checklist on the right lists all five steps and marks each as you finish it — click any row to jump straight to it. The two optional steps show as done from the outset, so read the checklist as “what’s still blocking me” rather than a to-do list. Not ready to finish everything? Skip for now exits the wizard; you can always resume later from the Dashboard.